Have you ever wondered what sort of microscopic critters are floating around in your water? Well, you can find out with just a few bucks worth of materials and a laser pointer. Really. That's all it takes to build your very own homemade laser projection microscope, aka a water drop projector.
Materials
- Syringe
- Tape
- Laser pointer
- Wall (to project the image onto)
- Stand
Some people have made their stands with styrofoam or wood. As long as it can support a syringe, it should be fine.
Step 1The Stand
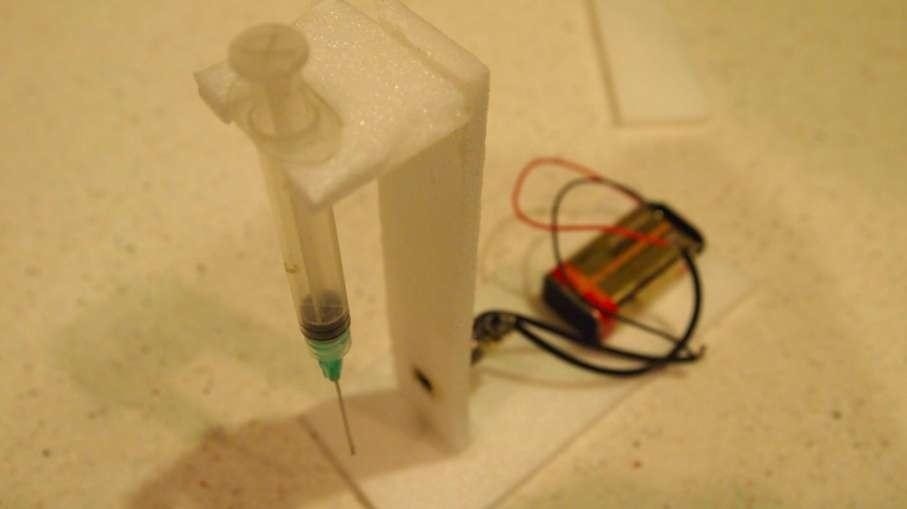
Put your stand together. It should have a steady base and extend high enough to hold an upright syringe.
Then, tape or otherwise secure the syringe to your stand, pointing downwards. Make sure to leave enough room for your laser pointer below. You will be shining the laser through a drop of water that will be suspended from the bottom of the needle, so construct accordingly.
Here's a more elaborate version:
Step 2The Syringe
Fill the syringe up with some dirty water.
The dirtier the water, the cooler the final effect will look. Then, very slowly press the top until a drop of water is hanging from the tip.
Step 3The Laser
Finally, shine your laser pointer through the water at a blank wall. Adjust the needle and laser so that they are close together as possible, with the laser centered on the water droplet. Adjust the setup until it projects a large image.
The things you see moving about are actually tiny organisms living in the water!
For an example of the laser microscope in action, check out the video below. As you can probably tell, either a green or red laser will work.


No comments:
Post a Comment